Types of Cloth Diapers
Below is a brief description of the different types of cloth diapers. Contributors of this list include: Veroushka Mener, Dara Bonavia and Cari Newcomb Morehouse from The Rebecca Foundation's Cloth Diaper Closet.
Type: Flats
Flat diapers, commonly just called "Flats", are truly the original cloth
diaper. Flat diapers are large squares or rectangles of single-layer
material. They are traditionally made from Birdseye weave cotton although you
can now find these in other cotton weaves and other fibers such as bamboo or
hemp. It is not uncommon for flats to be up-cycled from T-shirts, receiving
blankets or Flour Sack Towels. Flat diapers do require the use of an external
fastener such as the traditional diaper pin or one of the newer type fasteners
such as Snappi or Boingo.
Benefits of Flats:
Type: Prefolds
Prefolded cloth diapers are called “Prefolds”. They are also considered “old-fashioned” cloth diapers. Invented in 1950, the prefold diaper reduced the amount of folding needed with a conventional Flat diaper and concentrated the area of absorbency into the middle of the diaper. While prefolds are smaller than flats (due to the material already being folded for you), they are customarily made of the same types of fiber (cotton, bamboo or hemp). Prefolds are not only prefolded for convenience, but the fold has been made permanent by sewing the material after folding. This prevents the prefold from unfolding and once again becoming a flat. Prefolds come in different sizes from preemie to toddler and are generally defined by how many layers they have. Prefolds are folded into three “panels”, two outer panels and one middle panel. Different brands and sizes of prefolds may be folded just a bit differently but are all represented by the same numerical formula (Side) x (Middle) x (Side). This formula indicates the layers in each panel of the prefold diaper (the smaller number represents the outer panels and the larger number represent the more absorbent center panel). For example 3x6x3 means that the two side panels are three layers thick while the middle panel is 6 layers thick. Likewise, 4x8x4 indicates that the two side panels are four layers thick while the middle panel is 8 layers thick. You may see prefolds with colored thread serged along the edges. These colors are used to easily identify the “size” of the prefold. However, these colors are not universal and may vary from brand to brand. Prefold diapers do require the use of an external fastener such as the traditional diaper pin or one of the newer type fasteners such as Snappi or Boingo.
Benefits of Prefolds:
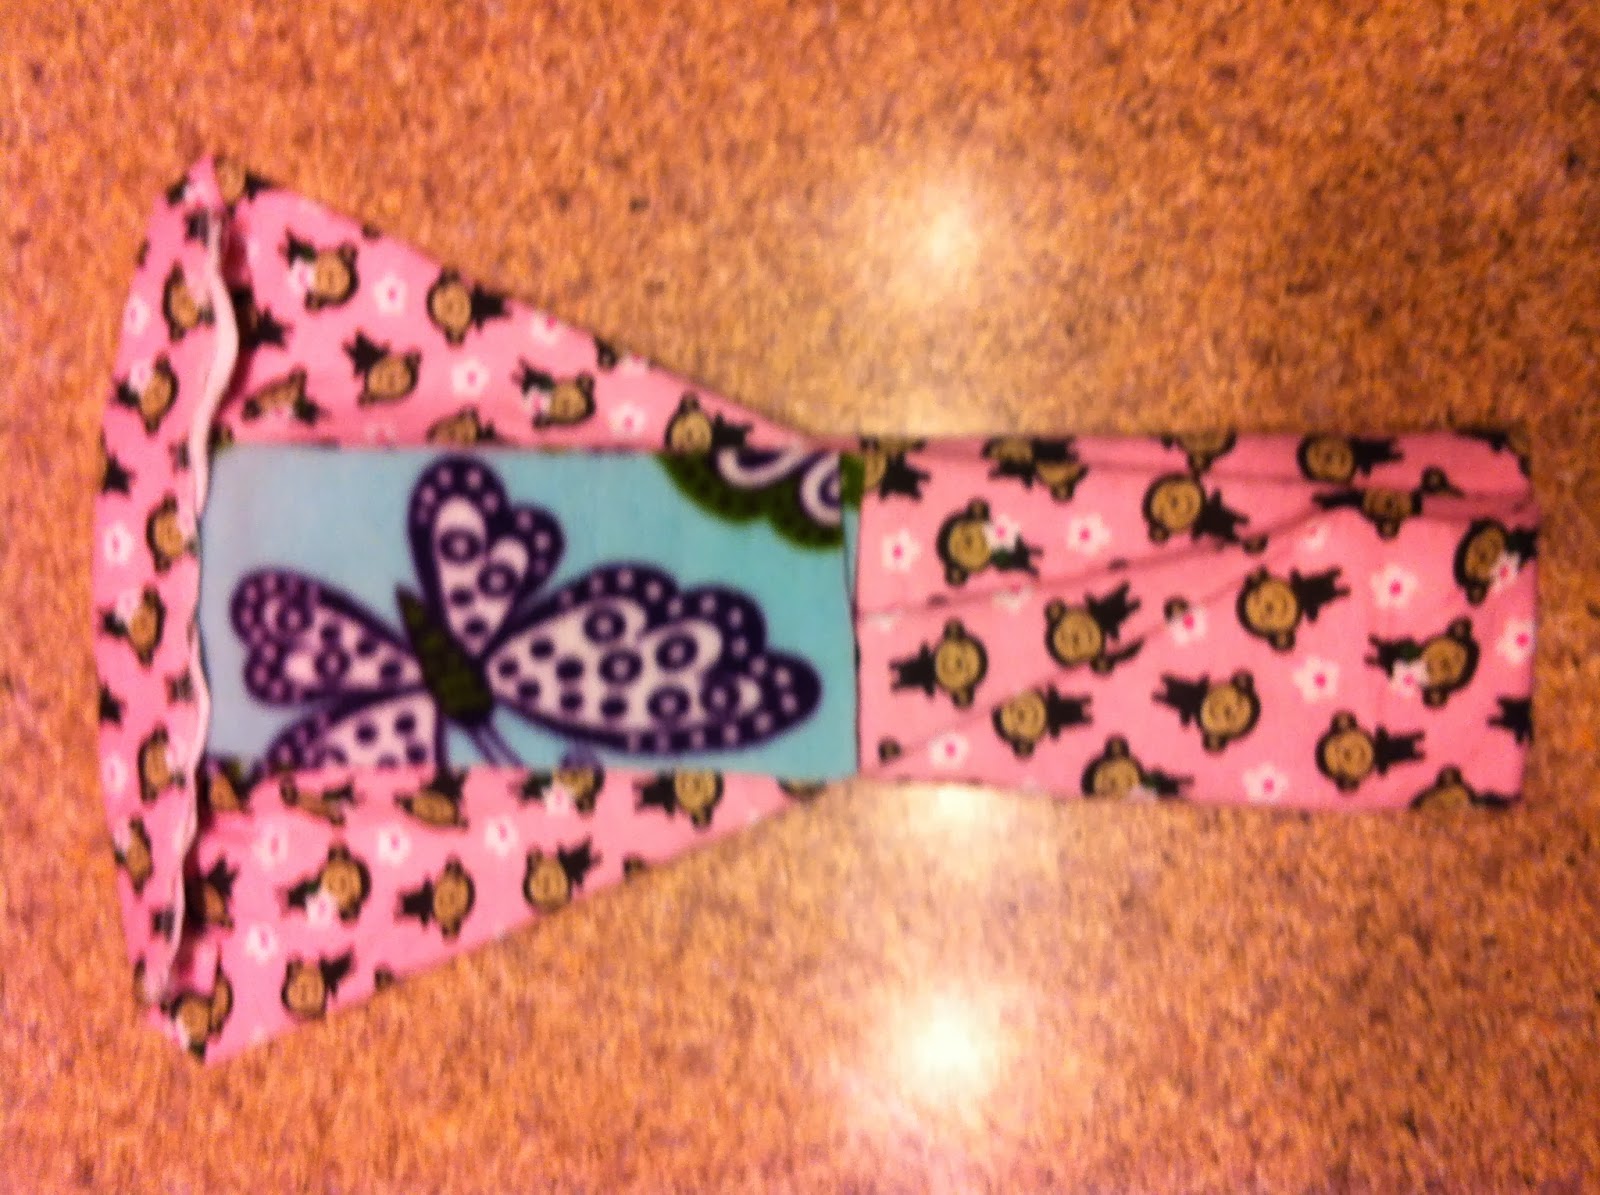
Type: Contour
A “Contour” is another step up from the prefold. While the prefold still requires some folding to fit around baby, the contour is already designed in a way that hugs around baby’s legs and waist for a “contoured” fit. Also made from an absorbent fiber such as cotton, hemp or bamboo, a contour is also not waterproof. Contour diapers come in several shapes and sizes. Contour diapers are designed so that the entire diaper is absorbent. However, it is not uncommon for a contour to contain a hidden added absorbent layer of natural or man-made material in the middle area. They can be sized (Small, Medium, Large) or come in a one size option. Some contour diapers contain elastic in the leg area to help hug to baby’s legs and allow for a more universal fit. You will find leg elastic is most One Size contour diapers. The wings or tabs of the contour diaper are pre-formed but still require the use of an external fastener such as the traditional diaper pin or one of the newer type fasteners such as Snappi or Boingo. Contour diapers are an especially appealing option for newborns and first time cloth diaper users as they are easier than Prefolds or flats and cheaper than Fitted diapers.
Benefits of Contours:
Type: Fitted
A “Fitted” is another step up from the Contour. Fitteds are actually identical to Contours with one major exception; they require no external fastener and close using either aplix (Velcro) or snaps. Fitteds can be sized (Small, Medium, Large) or One Size. They are form fitting and most come with elastic in the leg area for a more universal and snug fit. Fitteds may also come in a wider variety of fibers including synthetic fibers than do Contours. However, fitteds
Benefits of Fitteds:
Type: Pocket Diaper
One of the more popular types of cloth diapers is the Pocket Diaper. A pocket diaper looks and functions very similar to today’s “disposable” diapers. Pockets are comprised of three main components. The outside component is a waterproof fabric such as PUL (Polyurethane Laminated) or TPU (Thermoplastic Polyurethane). Both PUL and TPU function identically in that they prevent leakage of the diaper and provide a waterproof outer shell. The second component is an inner moisture-wicking (also called “Stay Dry” fabric. This component wicks moisture away from baby leaving baby feeling drier than traditional organic fibers. An area between the outer waterproof layer and the inner stay dry layer is left open to form a pocket. Within this pocket is placed the third component, an absorbent insert. Inserts can be made from organic or man-made fibers. The most common inserts are: 100% cotton (such as a flat or prefold), microfiber, bamboo and hemp. Inserts can contain one or a variety of these absorbent materials. The pocket diaper functions much like a traditional disposable. The baby wets, the moisture is wicked away from baby and into the insert and the moisture is prevented from leaking out by the outer waterproof layer. Pocket diapers also have built in external fasteners (Velcro or snaps).
Benefits of Pocket Diapers:
Type: All In One Diaper
All In One Diapers (AIO) are identical to pocket diapers in that they have a waterproof outside and a stay dry inner layer. The exception is that the absorbency core has been pre-sewn into the diaper and there is no need to place an insert within the pocket of the AIO diaper. There are some AIO diapers that do still come with pockets in which additional inserts can be placed for heavy wetters and nighttime use. These diapers are the most similar to today’s disposable diaper. However, unlike today’s disposable, the AIO can be washed and reused! Because this diaper is all inclusive (there are no inserts, external fasteners or waterproof layers to apply) it is likely the diaper to choose if you are looking for a reusable option to disposables, but fear the complexity of other varieties. AIO is a great choice to use if baby is occasionally cared for by an outside care giver or child care facility. Just like Pocket diapers AIO have attached external fasteners (Velcro or snaps).
Benefits of AIO Diapers:
Type: All In Two Diaper
All In Two Diapers are a hybrid two component diaper. They have the traditional waterproof outer layer (like the Pocket and AIO) but the insert is snapped into the diaper and goes directly against baby’s skin (instead of stuffed into a pocket or sewn in), eliminating the stay dry layer seen in Pockets and AIO. The outer layer serves as a re-usable diaper cover and the inner insert is removed when wet or soiled and changed out for another. As in Pockets and AIO diapers, the external fasteners for AI2 diapers consist of Velcro or Snaps.
Benefits of AI2 Diapers:
Type: One-Size Diapers
 One Size (OS) diapers are popular options in cloth diapering. OS diapers are
available in Contour, Fitteds, Pockets, AIO and AI2. Like Flats, OS diapers
provide the flexibility of using one set of diapers for Birth to Potty
Training. OS diapers can use a snapping “rise” system allowing the diaper to
convert from very small to large by adjusting the row of snaps used. Those that
do not use a snapping rise (such as some Contours) can have the rise adjusted
with the use of a Snappi.
One Size (OS) diapers are popular options in cloth diapering. OS diapers are
available in Contour, Fitteds, Pockets, AIO and AI2. Like Flats, OS diapers
provide the flexibility of using one set of diapers for Birth to Potty
Training. OS diapers can use a snapping “rise” system allowing the diaper to
convert from very small to large by adjusting the row of snaps used. Those that
do not use a snapping rise (such as some Contours) can have the rise adjusted
with the use of a Snappi.
Benefits of AIO Diapers:
Type: Diaper Cover
Diaper covers are waterproof or leak resistant covers used over Flats, Prefolds, Contours or Fitteds. Diaper covers provide you with the flexibility to use the diapering method of your choice. Diaper Covers are available in PUL, TPU, Wool and Fleece. They come in a variety sizes, external closures and fibers.
Below is a brief description of the different types of cloth diapers. Contributors of this list include: Veroushka Mener, Dara Bonavia and Cari Newcomb Morehouse from The Rebecca Foundation's Cloth Diaper Closet.
Type: Flats
 |
| Flat Diapers |
Benefits of Flats:
- Fits Any Baby: The appeal of the “Flat” is that it can be folded in so many different ways. This allows for a perfect fit for any baby (regardless of age, weight or body type). It is a true “One Size” cloth diaper. That huge square can be folded into a diaper small enough for a newborn or big enough for a 3 year old. Adjustments are made to flats by varying the type of "fold" used. Some types of folds are more suitable for smaller babies (such as newborns) while others work best with larger babies (such as toddlers). In addition, by varying the type of fold used with a flat diaper, you can move the area of largest absorbency to the front or back if desired, making the diaper more appropriate for girls or boys. Flats can be folded individually at each diaper change or they can be stored pre-folded to allow for a quicker change routine.
- Very inexpensive: Flats are the most economical choice when it comes to diapering. A dozen flats will customarily cost between $12.00 - $30.00 per dozen, depending on size (small/large) and fiber content. However, by up-cycling T-shirts or receiving blankets, you can often reduce the cost of a flat by 50% to 100%! In theory, a dozen flat diapers will last you the entire diapering life of your baby. However, it is advised have a few extra on hand for those occasions when they cannot be washed for immediate reuse. It is also important to remember that the younger your baby is, the more often he/she will need to be changed. Even if you don’t plan on using Flats as your primary means of diapering, it is advised to have a few on hand for emergency situations.
- They Wash Easily and Dry Fast: Flats can be used and abused. They are tried and true and can be laundered just like any of your other laundry. There is no debate about the need to use special soaps, they can be bleached without controversy when needed, and you won’t have to worry as much about repelling issues since they are made from natural fibers. For families without a washer (or families that travel often), they can be easily hand washed in any bath tub, sink, or a homemade bucket washer.
- Versatility: Flats are the most versatile diapering option available. The number of folds is almost endless. Flats are not waterproof, but using flats allows you the flexibility to decide between wool, fleece or PUL waterproof covers. They make excellent inexpensive and absorbent inserts for pocket diapers too!
Type: Prefolds
 |
| Prefold Diapers |
Prefolded cloth diapers are called “Prefolds”. They are also considered “old-fashioned” cloth diapers. Invented in 1950, the prefold diaper reduced the amount of folding needed with a conventional Flat diaper and concentrated the area of absorbency into the middle of the diaper. While prefolds are smaller than flats (due to the material already being folded for you), they are customarily made of the same types of fiber (cotton, bamboo or hemp). Prefolds are not only prefolded for convenience, but the fold has been made permanent by sewing the material after folding. This prevents the prefold from unfolding and once again becoming a flat. Prefolds come in different sizes from preemie to toddler and are generally defined by how many layers they have. Prefolds are folded into three “panels”, two outer panels and one middle panel. Different brands and sizes of prefolds may be folded just a bit differently but are all represented by the same numerical formula (Side) x (Middle) x (Side). This formula indicates the layers in each panel of the prefold diaper (the smaller number represents the outer panels and the larger number represent the more absorbent center panel). For example 3x6x3 means that the two side panels are three layers thick while the middle panel is 6 layers thick. Likewise, 4x8x4 indicates that the two side panels are four layers thick while the middle panel is 8 layers thick. You may see prefolds with colored thread serged along the edges. These colors are used to easily identify the “size” of the prefold. However, these colors are not universal and may vary from brand to brand. Prefold diapers do require the use of an external fastener such as the traditional diaper pin or one of the newer type fasteners such as Snappi or Boingo.
Benefits of Prefolds:
- Fits Most Babies: Like flats, Prefolds can be folded to achieve a custom fit. However, prefolds are not generally considered “One Size” diapers. They come in many different sizes and you are unlikely to be able to use one size from birth to potty training. You can however minimize the number of sizes required by using the most common sizes and folding them to fit. The most common sizes are Infant, Premium and Toddler.
- Inexpensive: Prefolds are also a very inexpensive diapering choice. Prefolds come in different fibers and different thickness and quality is often reflected in the price of the prefold. A dozen prefolds will customarily cost between $14.00 - $50.00 per dozen depending on fiber and fold.
- They Wash Easily and Dry Fast: Prefolds are a workhorse diaper. Prefolds can last for years and through multiple children when well cared for. Like flats, they can be laundered just like any of your other laundry. There is no debate about the need to use special soaps, they can be bleached without controversy when needed, and you won’t have to worry as much about repelling issues since they are made from natural fibers. For families without a washer (or families that travel often), they can be easily hand washed in any bath tub, sink, or a homemade bucket washer. Because they are prefolded into multiple layers, they do take a bit longer to dry than regular flats.
- Versatility: Prefolds are less versatile than Flats but still allow for multiple folding options. This aids in getting a custom fit for your baby’s weight and body type. Like Flats, prefolds are also not waterproof. They are also most often used with wool, fleece or PUL waterproof covers. Alternatively, prefold diapers can be tri-folded and positioned inside many types of diaper covers and the cover then pulled onto or fastened around the baby. They too make excellent inexpensive and absorbent inserts for pocket diapers! An added bonus, after they have served their time as diapers, they can be recycled and used as household cleaning or dusting rags!
Type: Contour
 |
| Contour Diaper |
A “Contour” is another step up from the prefold. While the prefold still requires some folding to fit around baby, the contour is already designed in a way that hugs around baby’s legs and waist for a “contoured” fit. Also made from an absorbent fiber such as cotton, hemp or bamboo, a contour is also not waterproof. Contour diapers come in several shapes and sizes. Contour diapers are designed so that the entire diaper is absorbent. However, it is not uncommon for a contour to contain a hidden added absorbent layer of natural or man-made material in the middle area. They can be sized (Small, Medium, Large) or come in a one size option. Some contour diapers contain elastic in the leg area to help hug to baby’s legs and allow for a more universal fit. You will find leg elastic is most One Size contour diapers. The wings or tabs of the contour diaper are pre-formed but still require the use of an external fastener such as the traditional diaper pin or one of the newer type fasteners such as Snappi or Boingo. Contour diapers are an especially appealing option for newborns and first time cloth diaper users as they are easier than Prefolds or flats and cheaper than Fitted diapers.
Benefits of Contours:
- Pre-formed for even less folding: Contours are often very similar to prefolds (available in a variety of natural fibers), but due to the contour of the diaper, they require less folding.
- Ease of Use: Contour diapers are easier to use than Flats and Prefolds and are designed more like common disposable diapers. They have a typical “diaper” shape and since the folding requirement has been eliminated, there are fewer variables to contend with.
- Affordable: Contour diapers can be expensive than Fitted Diapers or Pocket Diapers, but offer the same basic diaper shape. This varies by both quality and brand as Contour diapers are often customized by designer.
- Versatility: Because Contour diapers often have added absorbency, they are ideal for daytime use and are sometimes absorbent enough for nighttime use as well. This of course varies by brand. Contours are a great option for babies with healing diaper rashes. Using a contour without a cover allows you to change baby as soon as baby is wet and allows for added airflow around baby’s diaper area.
Type: Fitted
 |
| Fitted Diaper |
A “Fitted” is another step up from the Contour. Fitteds are actually identical to Contours with one major exception; they require no external fastener and close using either aplix (Velcro) or snaps. Fitteds can be sized (Small, Medium, Large) or One Size. They are form fitting and most come with elastic in the leg area for a more universal and snug fit. Fitteds may also come in a wider variety of fibers including synthetic fibers than do Contours. However, fitteds
Benefits of Fitteds:
- Pre-formed for even less folding: Identical to Contours, the Fitted diaper fits snuggly to baby’s form. They come in many sizes, shapes and fibers.
- Ease of Use: The Velcro and snaps attached to Fitteds make for even easier use and are the first step to claim diapers being more like common “disposables”. If you’re looking for a natural fiber diaper MOST like disposables today, Fitteds are your go to option.
- Versatility: Because Contour diapers often have added absorbency, they are ideal for daytime use and are sometimes absorbent enough for nighttime use as well. This of course varies by brand.
- Great for use with EC (Elimination Communication): Fitteds are most often used with a cover. However, if you practice EC then Fitteds are a great choice. They allow you to instantly know when your baby is wet therefore learning to more easily distinguish clues related to your babies elimination habits.
Type: Pocket Diaper
 |
| Pocket Diaper Inner |
One of the more popular types of cloth diapers is the Pocket Diaper. A pocket diaper looks and functions very similar to today’s “disposable” diapers. Pockets are comprised of three main components. The outside component is a waterproof fabric such as PUL (Polyurethane Laminated) or TPU (Thermoplastic Polyurethane). Both PUL and TPU function identically in that they prevent leakage of the diaper and provide a waterproof outer shell. The second component is an inner moisture-wicking (also called “Stay Dry” fabric. This component wicks moisture away from baby leaving baby feeling drier than traditional organic fibers. An area between the outer waterproof layer and the inner stay dry layer is left open to form a pocket. Within this pocket is placed the third component, an absorbent insert. Inserts can be made from organic or man-made fibers. The most common inserts are: 100% cotton (such as a flat or prefold), microfiber, bamboo and hemp. Inserts can contain one or a variety of these absorbent materials. The pocket diaper functions much like a traditional disposable. The baby wets, the moisture is wicked away from baby and into the insert and the moisture is prevented from leaking out by the outer waterproof layer. Pocket diapers also have built in external fasteners (Velcro or snaps).
Benefits of Pocket Diapers:
- Ease of Use: Pocket diapers are easy to use. All you need to do is stuff an insert into the pocket and fasten diaper (using attached Velcro or snaps) onto baby.
- Waterproof without a cover: Unlike diapers before it, the Pocket diaper requires no cover to make it waterproof/leak-proof. It has its own attached external cover.
Type: All In One Diaper
 |
| AIO Inner |
All In One Diapers (AIO) are identical to pocket diapers in that they have a waterproof outside and a stay dry inner layer. The exception is that the absorbency core has been pre-sewn into the diaper and there is no need to place an insert within the pocket of the AIO diaper. There are some AIO diapers that do still come with pockets in which additional inserts can be placed for heavy wetters and nighttime use. These diapers are the most similar to today’s disposable diaper. However, unlike today’s disposable, the AIO can be washed and reused! Because this diaper is all inclusive (there are no inserts, external fasteners or waterproof layers to apply) it is likely the diaper to choose if you are looking for a reusable option to disposables, but fear the complexity of other varieties. AIO is a great choice to use if baby is occasionally cared for by an outside care giver or child care facility. Just like Pocket diapers AIO have attached external fasteners (Velcro or snaps).
Benefits of AIO Diapers:
- Ease of Use: AIO diapers are by far the easiest to use. The diaper requires no covers, no additional inserts and no additional external fasteners. They look and function just like cloth versions of disposable diapers. They are the most easily adopted by those venturing into cloth for the first time and they are the easiest options for Day Cares and Dads alike.
- Waterproof without a cover: Just like Pockets, the AIO diaper requires no cover to make it waterproof/leak-proof. It has its own attached external cover.
Type: All In Two Diaper
 |
| AI2 Inner |
All In Two Diapers are a hybrid two component diaper. They have the traditional waterproof outer layer (like the Pocket and AIO) but the insert is snapped into the diaper and goes directly against baby’s skin (instead of stuffed into a pocket or sewn in), eliminating the stay dry layer seen in Pockets and AIO. The outer layer serves as a re-usable diaper cover and the inner insert is removed when wet or soiled and changed out for another. As in Pockets and AIO diapers, the external fasteners for AI2 diapers consist of Velcro or Snaps.
Benefits of AI2 Diapers:
- Ease of Use: AIO diapers are by far the easiest to use. The diaper requires no covers, no additional inserts and no additional external fasteners. They look and function just like cloth versions of disposable diapers. They are the most easily adopted by those venturing into cloth for the first time and they are the easiest options for Day Cares and Dads alike.
- Waterproof without a cover: Just like Pockets and AIO, AI2 diaper requires no cover to make it waterproof/leak-proof. It has its own attached external cover. In fact the AI2 has the added benefit of being able to be used as a cover as well as an AI2.
- More affordable than AIO: The ability to snap in and out inserts and reuse the outer shell makes the AI2 diaper more affordable than a full set of AIO diapers.
- Variety: The AIO snap in inserts/soakers come in a variety of materials and fibers. Some even come with their own attached stay dry layer for those who prefer the function of the layer in the traditional pocket with the ease of use of the AI2. It is important to note that not all AI2 diaper systems use compatible snaps. This means that inserts/soakers in one AI2 brand may not be compatible with those of another.
Type: One-Size Diapers
One Size (OS) diapers are popular options in cloth diapering. OS diapers are
available in Contour, Fitteds, Pockets, AIO and AI2. Like Flats, OS diapers
provide the flexibility of using one set of diapers for Birth to Potty
Training. OS diapers can use a snapping “rise” system allowing the diaper to
convert from very small to large by adjusting the row of snaps used. Those that
do not use a snapping rise (such as some Contours) can have the rise adjusted
with the use of a Snappi.Benefits of AIO Diapers:
- Affordable: One diaper can be used from birth to potty training making the purchase of multiple sizes unnecessary. OS diapers are easily adjustable and perfect for families with multiple children in diapers (meaning that one set of diapers can be used concurrently amongst all children in the house).
- Versatility: With an adjustable rise this diaper can be used by any size baby making it as versatile as a Flat with the convenience of a modern cloth diaper. OS pockets add the versatility of being able to add additional absorbency as baby grows and needs change.
Type: Diaper Cover
Diaper covers are waterproof or leak resistant covers used over Flats, Prefolds, Contours or Fitteds. Diaper covers provide you with the flexibility to use the diapering method of your choice. Diaper Covers are available in PUL, TPU, Wool and Fleece. They come in a variety sizes, external closures and fibers.
- PUL and TPU Diaper Cover: These are waterproof covers made of PUL or TPU. They are applied over non-waterproof diapering options and use either Velcro or Snapping closures.
- Wool Soaker: A wool soaker is a diaper cover that is made exclusively of wool. This type of fabric has a high lanolin content, so it works well as a diaper cover. It can hold up to forty percent of its weight in moisture and can be used with fitted, contour, or prefold cloth diapers. Prefer natural fibers and materials? Wool covers provide optimal protection against leaks, making them perfect for nighttime (and daytime too). Diapering on a budget? Stretch your diaper dollars with a one size diaper cover.
- Fleece Soaker: Much like a wool soaker, a fleece soaker works by wicking moisture away from baby. These are popular choices for both day and nighttime use.

.jpeg)
.jpeg)

.jpeg)
.jpeg)
.jpeg)
.jpeg)
.jpeg&description=Flour%20Sack%20Towels%20as%20Cloth%20Diapers)
.JPG)


.JPG&description=Making%20your%20own%20fleece%20diaper%20liners)


.JPG)


.jpeg)
.JPG)